12 March 2012
click on images for a bigger view.
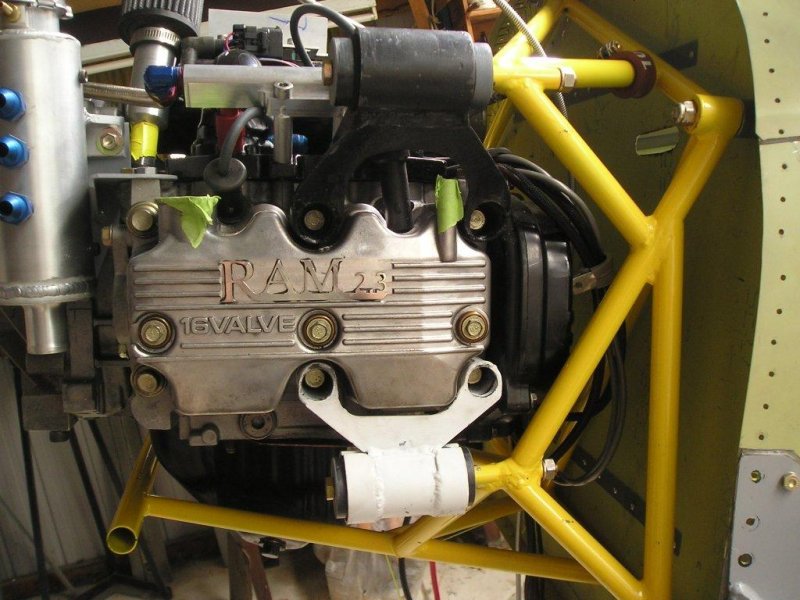
The past few weeks have seen the end of a couple of little ongoing niggles. One of the Lord engine mount bushes on the lower LH mount was distorted and needed realigning slightly.Soon we will begin design and construction of the engine cowl and we wanted to be all happy with the position of the engine.
This is done now and next comes the cowl. In the meantime Peter continues to work on the engine cowl template tool. Gordon continues to progress the engine throttle control installation.
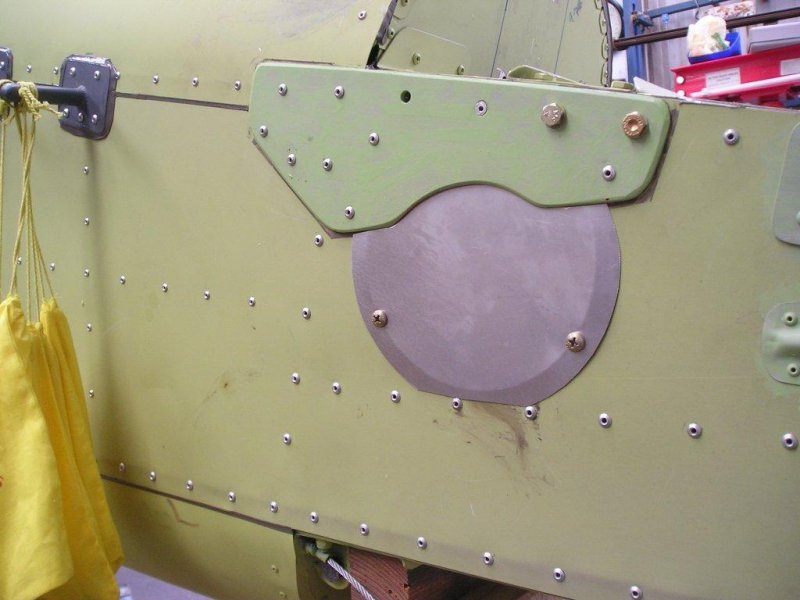
Other jobs like access panels for the numerous inspection holes have been fabricated and installed.
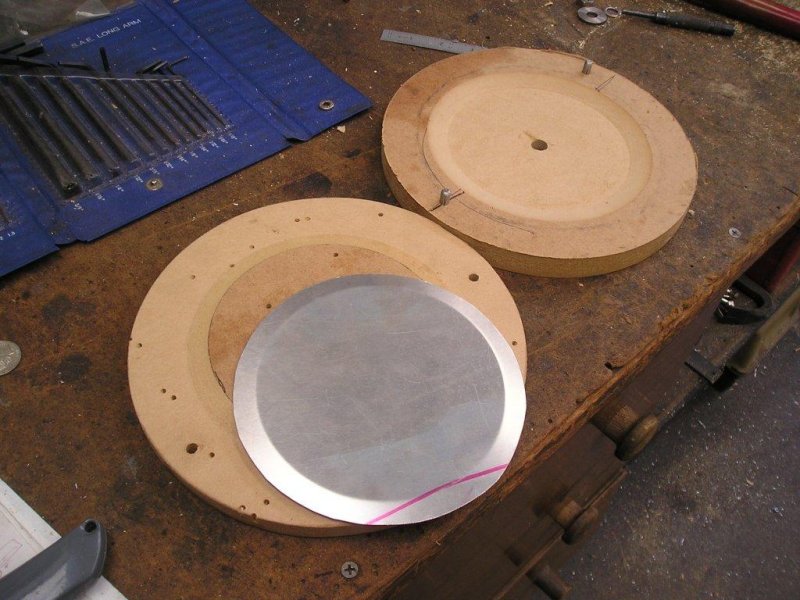
Gordon made some form blocks and after a bit of practice he was able press out exact copies with a nice rolled down edge.
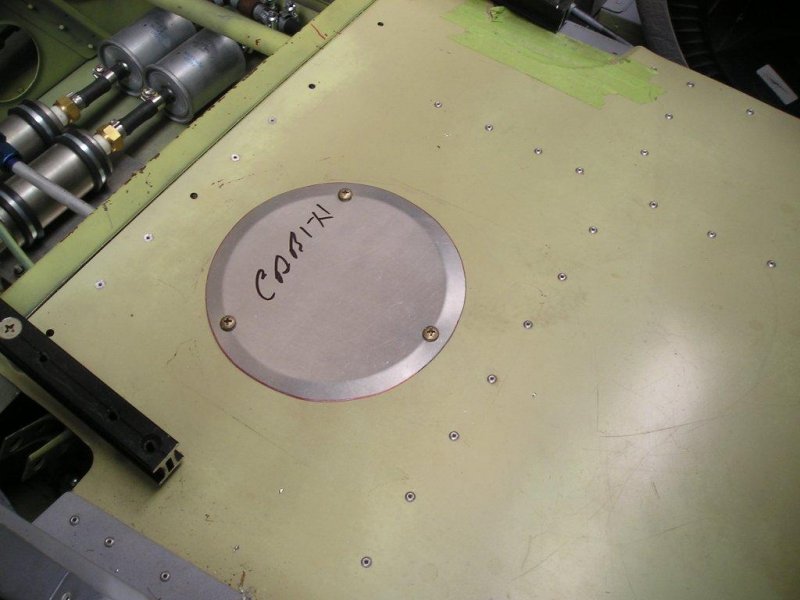
They look great. We then drilled them off using a jig so they should be interchangeable but we better not mix them up just in case. There locations are marked on the back.
This is an old habit from working on 737s where nothing is interchangeable.
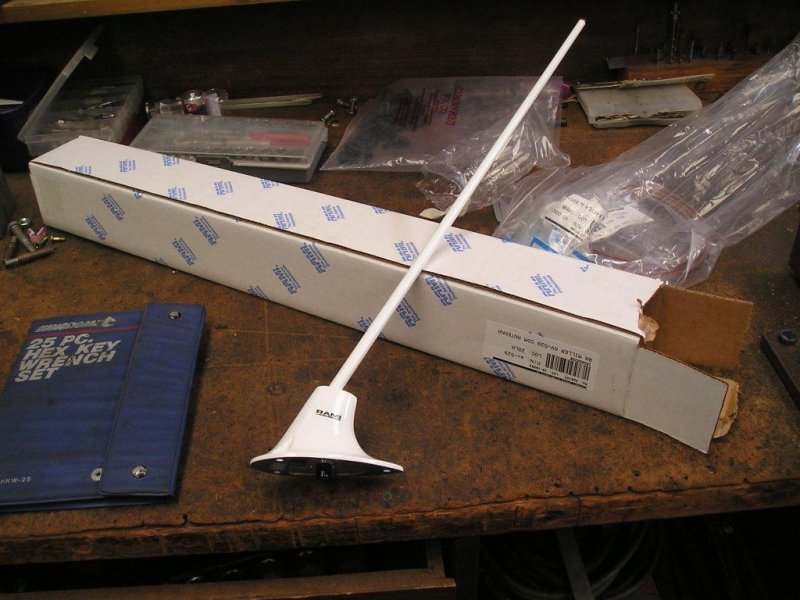
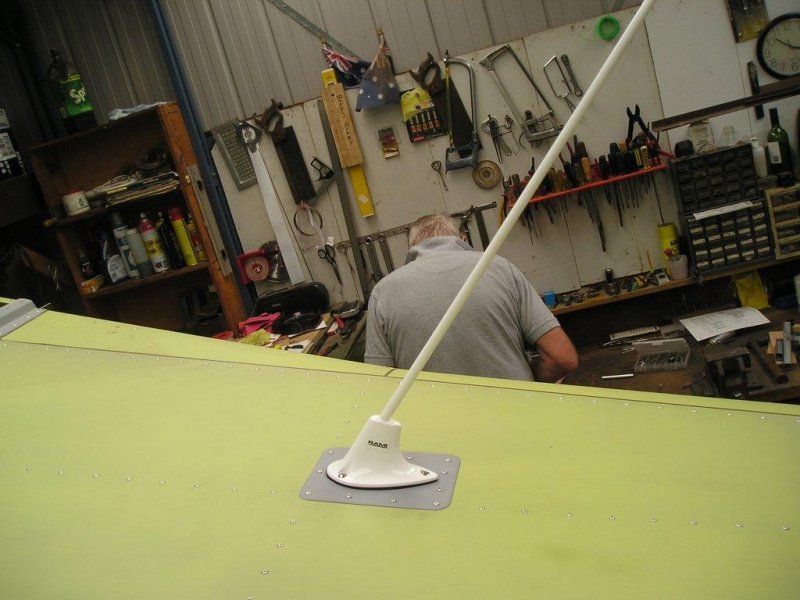
The antenna arrived and this was installed with a doubler. It also came with a backup plate which goes on the inside skin as well.
As the our editor says no point having a good radio if you using a so so antennae. I got the cable in the same shipment so we will install this next.
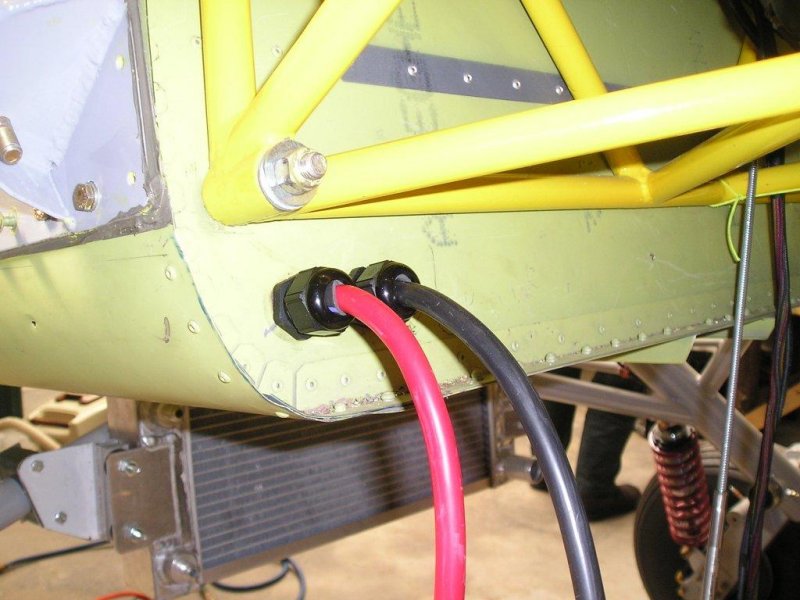
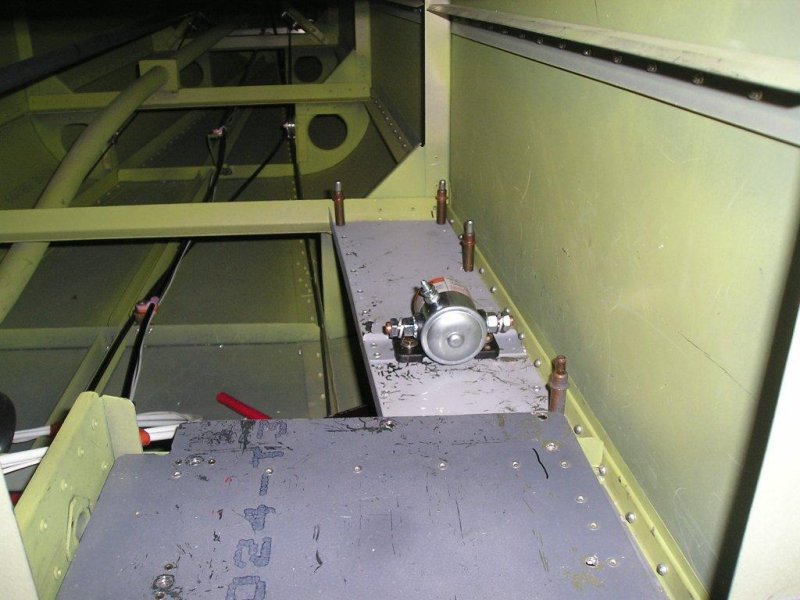
Mike fitted the master solenoid and to do this he also installed a mounting shelf just aft of the battery. More wires were needed and these have been P-clipped in place.
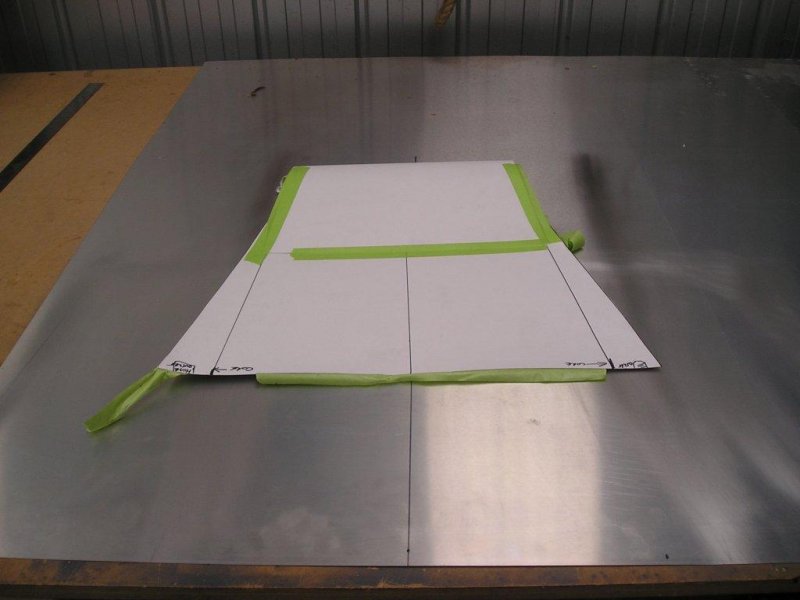
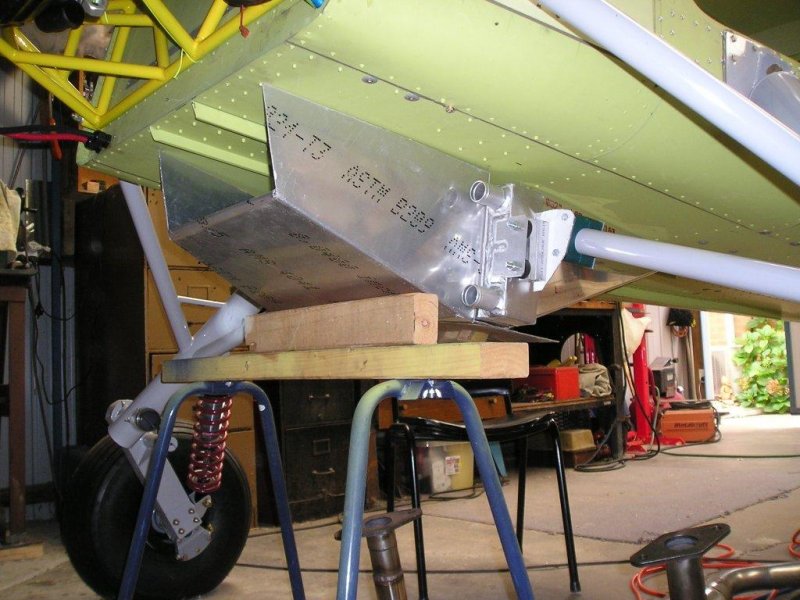
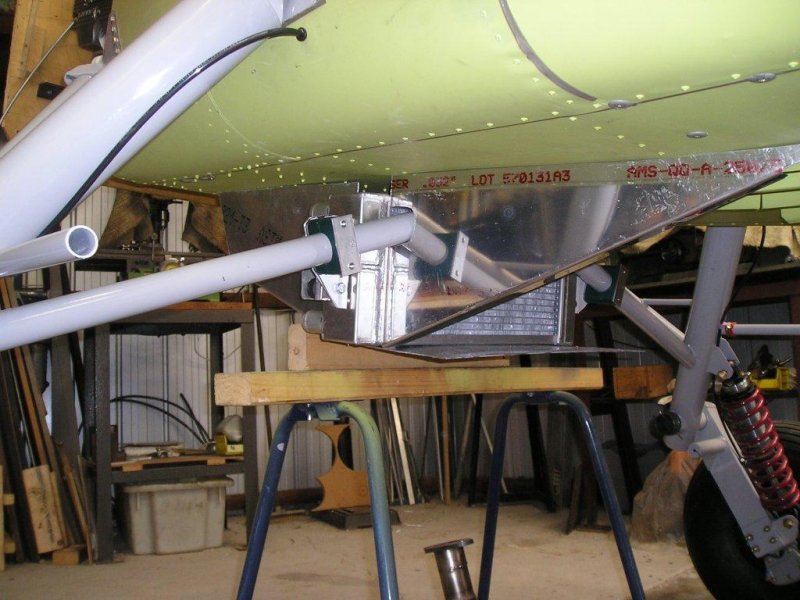
The radiator inlet cowl fabrication has commenced and this started by cutting up some cardboard just to get an idea of what direction it should take.
Anyway I was able to cut and bend some alloy into shape. It is early days for the inlet cowl but it is starting to take shape. The cowl needs to be removable but secure when mounted.
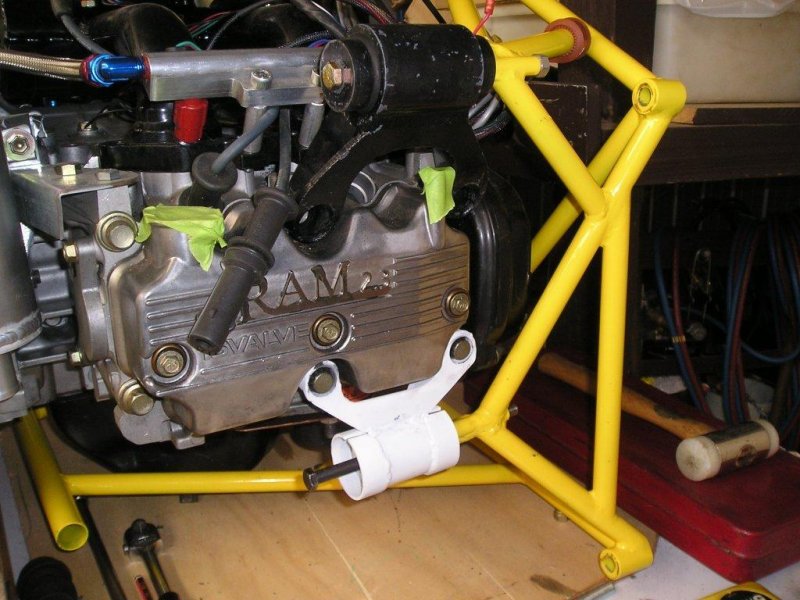
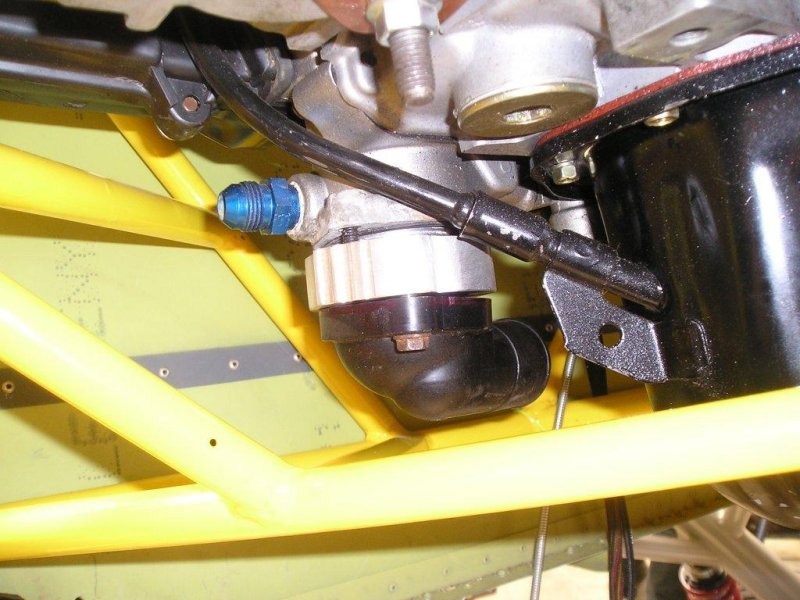
With the radiator now mounted, the thermostat hose connection on the engine was 160 degree out of position. Simply turning it 180 degree would not work either.
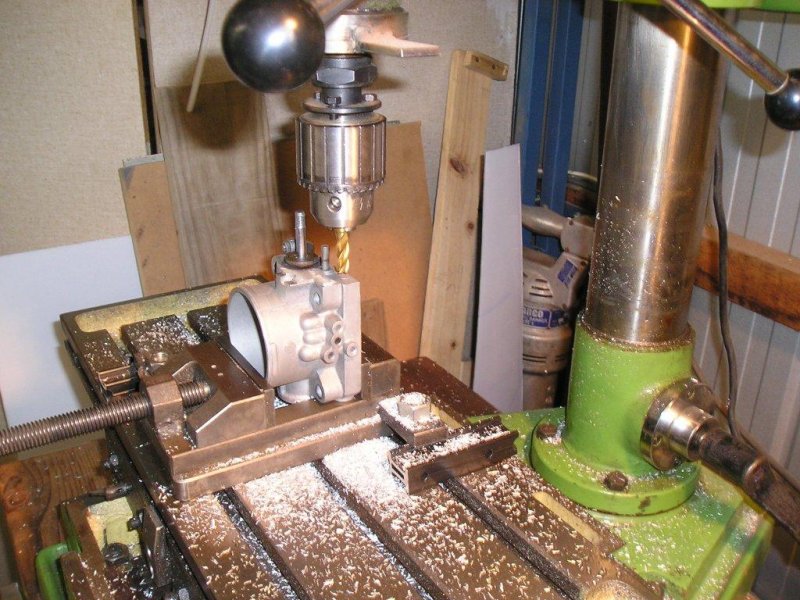
It was close but still not clear. Gordon was able to fabricate an adapter plate to properly align the hose to the thermostat housing.
Next he was able to machine an O-ring groove which was a close match for the original factory installation.
The local bearing supply shop had a wall full of suitable O-rings to choose from. One 70 cent O-ring finished the job. A simple leak test on the bench showed that it will work ok.
Another niggle out of the way.
-
All for now.
- Man hours to date:
- 917 hrs
Regards Jack