5 August 2011
click on images for a bigger view.
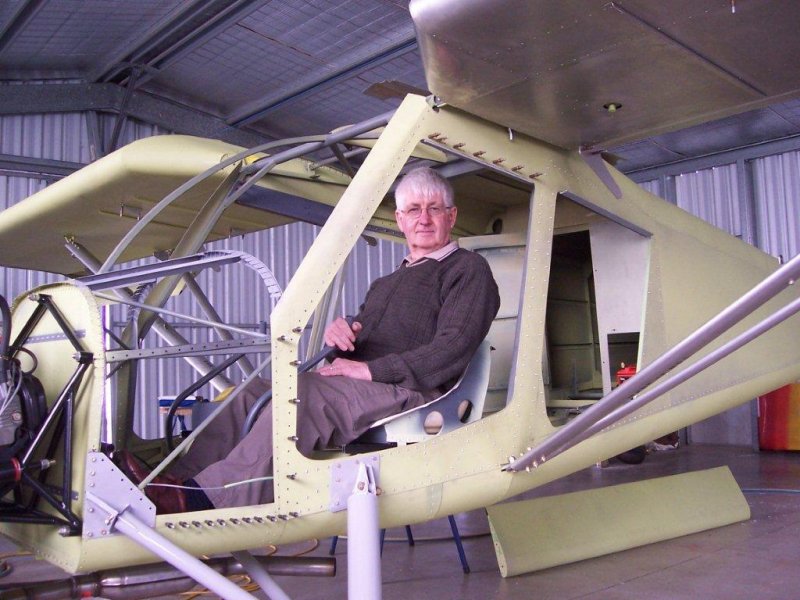
We have now moved into the phase of the build where our time is consumed by many small jobs. Lots of hours in the work shop with not much to show for it.Items like fitting support structure around door openings have been completed.
The Tost CRG was moved again (hopefully for the last time!) but should allow more seat travel for the passenger.
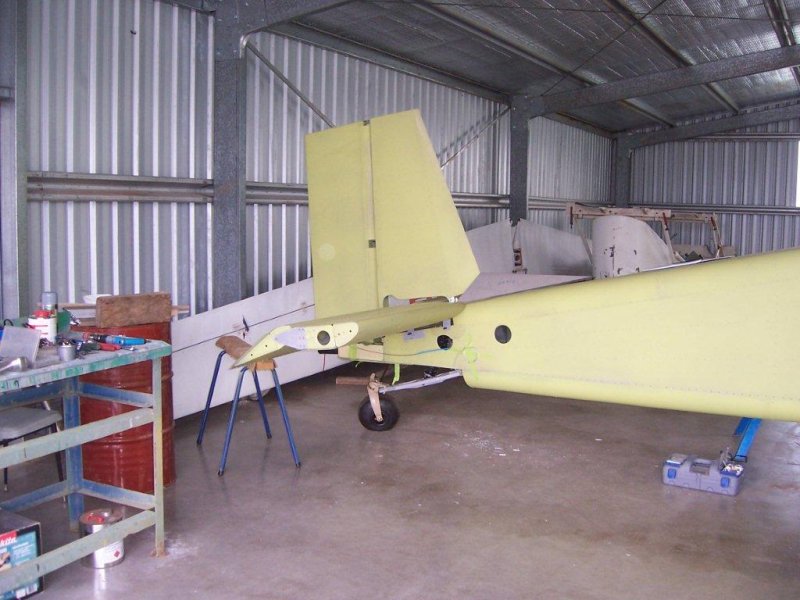
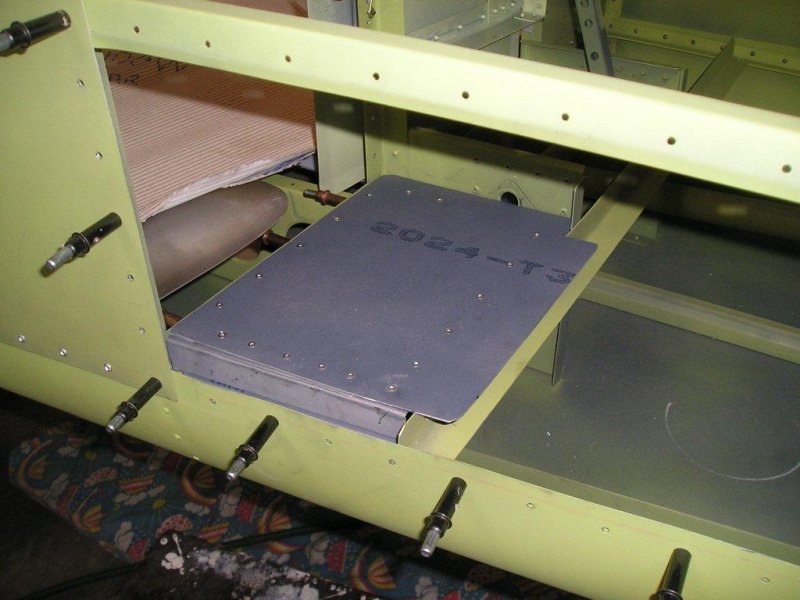
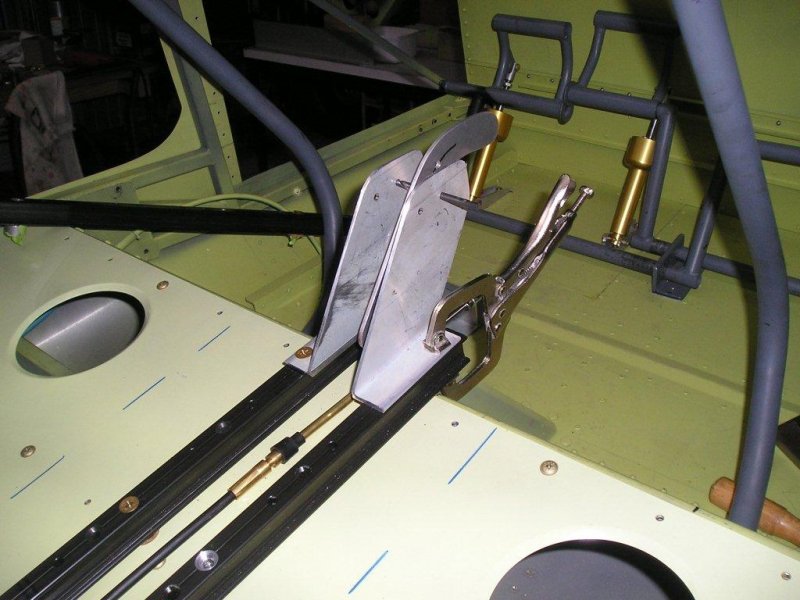
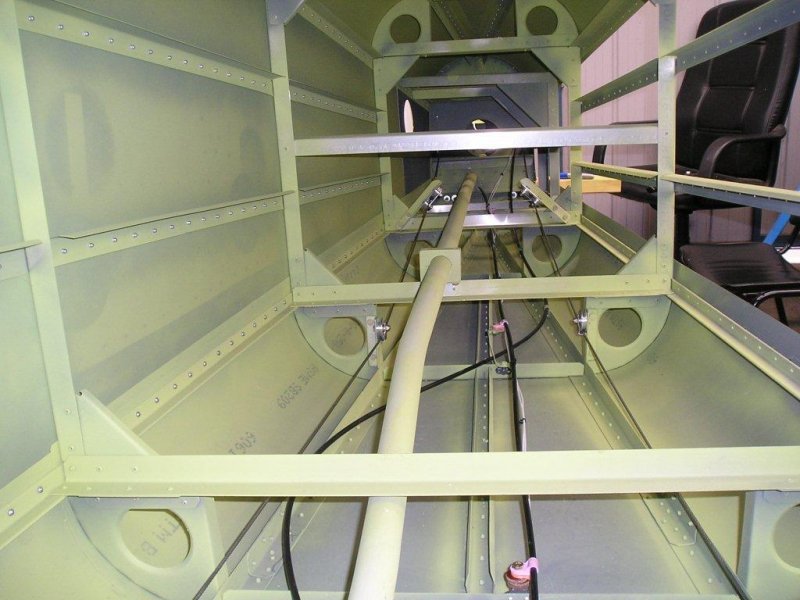
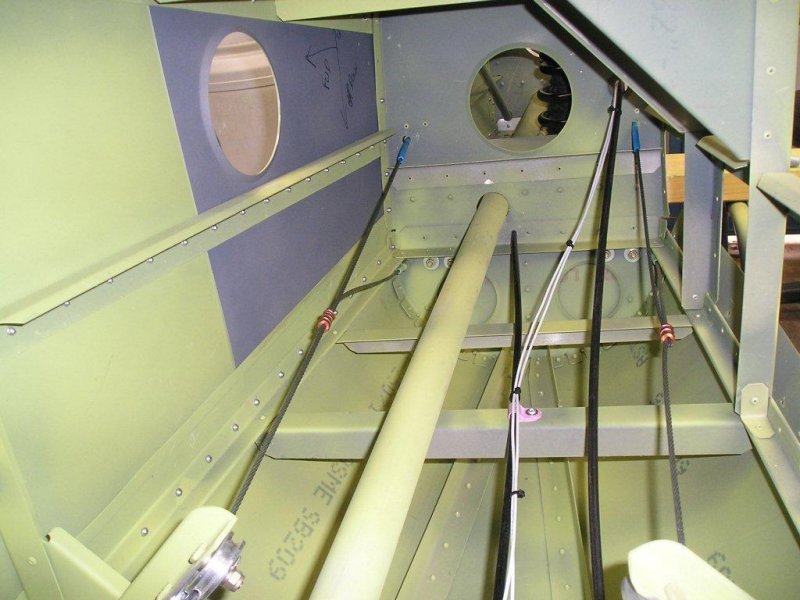
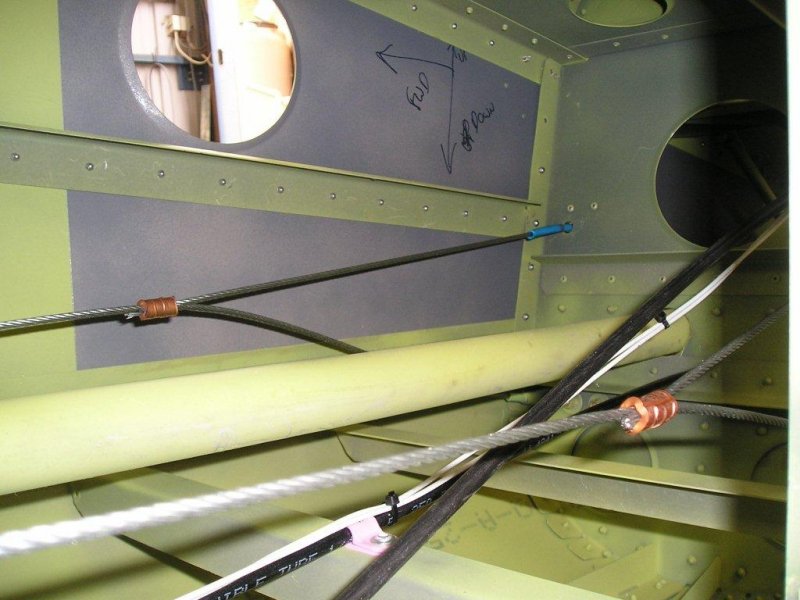
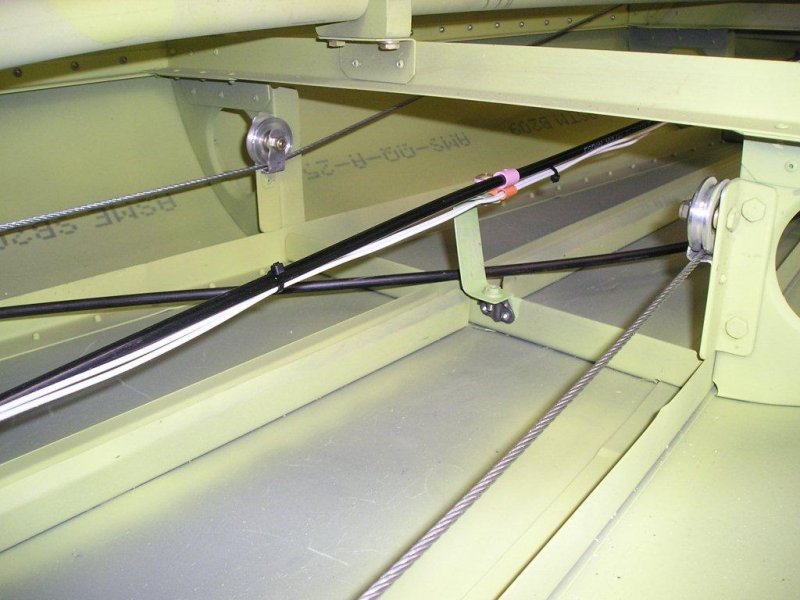
The trim cable has been installed in the aft fuselage along with the guide tube for the Guillotine cable.
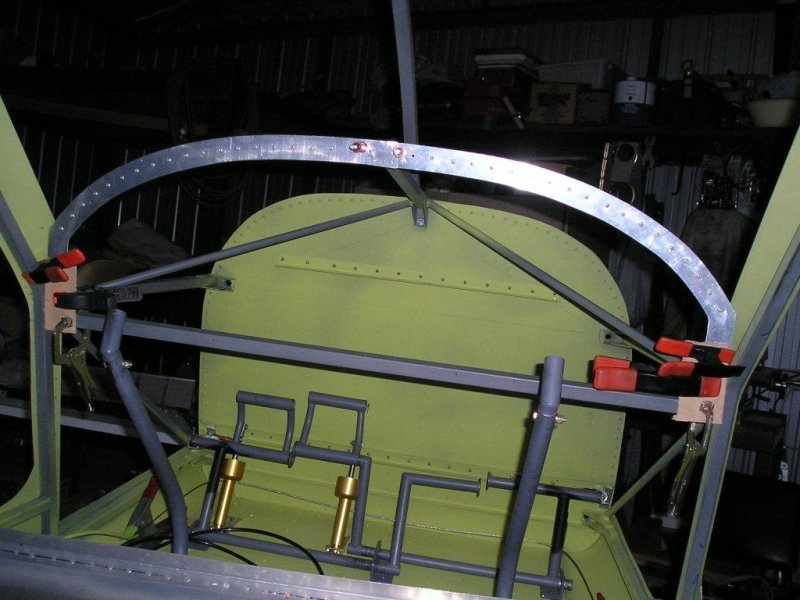
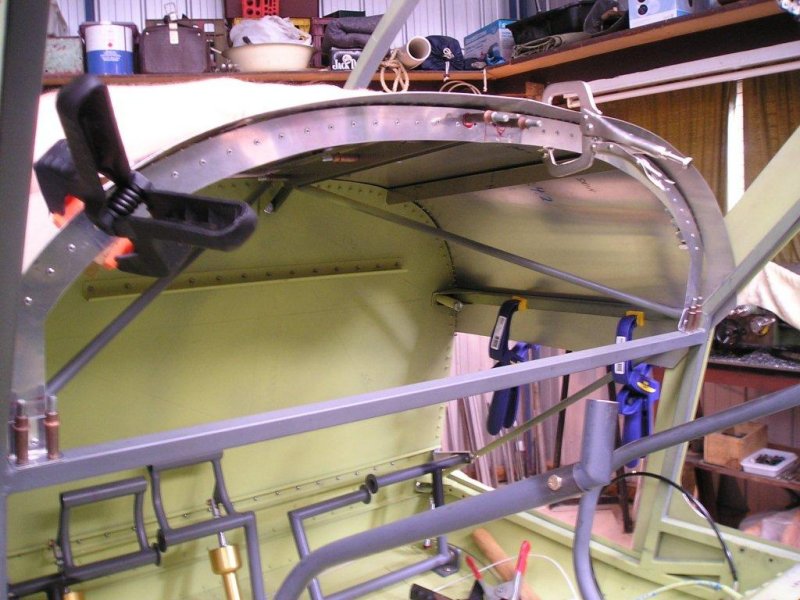
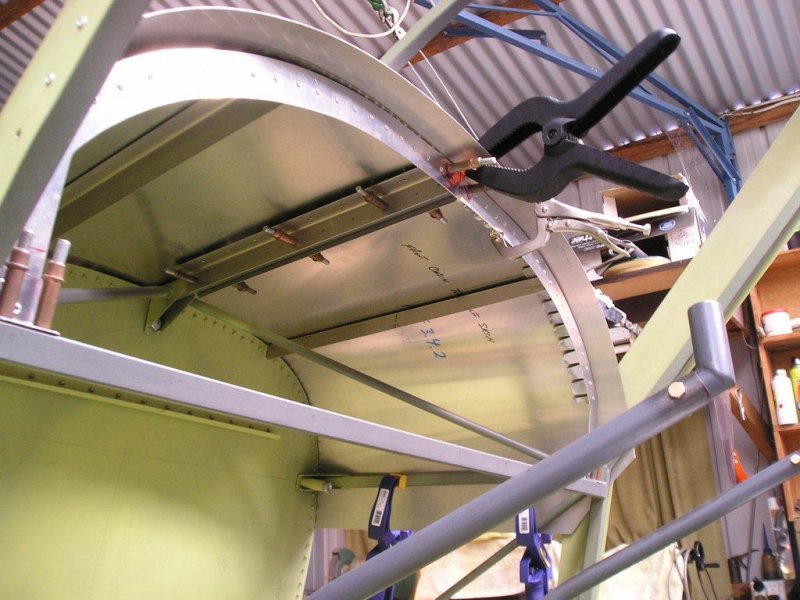
Here we used some clamps to secure the push-pull trim cable that would not crush the inner cable making it bind up.
We made sure that not only was it in a comfortable position but had full travel. The Guillotine cable run we tried to keep as straight as possible to reduce handle operating loads.
Some wiring for a prox sensor to alert the pilot when the tow cable has been retracted was installed.
A decision has not been made on whether this is a required item but I thought it prudent to install the wiring just in case we want too later on.
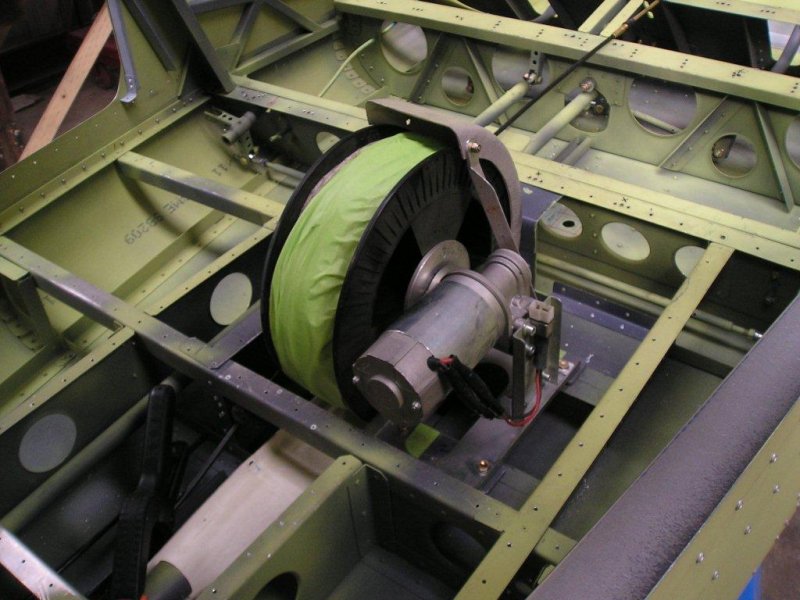
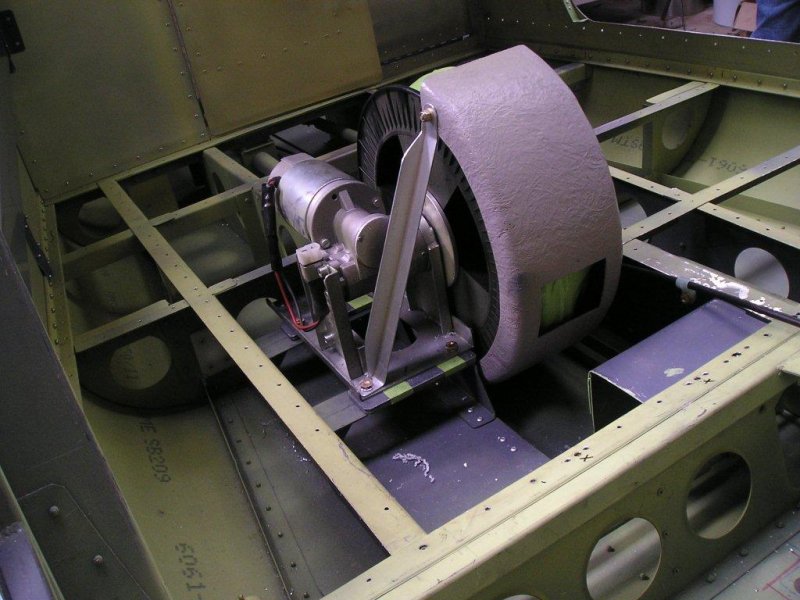
An interesting exercise was carried out where we tested the Tost reel and its ability to wind the cable on the drum (would it all fit??).
We wanted to be sure that the cable would not fall off the side of the drum during the retraction cycle.
I walked the cable down Gordons driveway and out the street, Gordon hooked the CRG motor to a battery and wound the cable in.
The test was successful and gave us confidence that we are heading in a good direction with the installation.
A test of the Guillotine was completed also, we were interested in what the handle force would be required to operate it.
We should be able to achieve a similar handle force to a normal release fitted in most tugs.
Malcolm contacted Tost Germany who kindly provided us manuals for its operation and some installation and maintenance paperwork for our Tost CRG.
Slava from GA Prop reports progress on propeller is going well and the blade construction is completed and should be final paint by now.
He is waiting on some machined parts to be completed for the propeller hub.
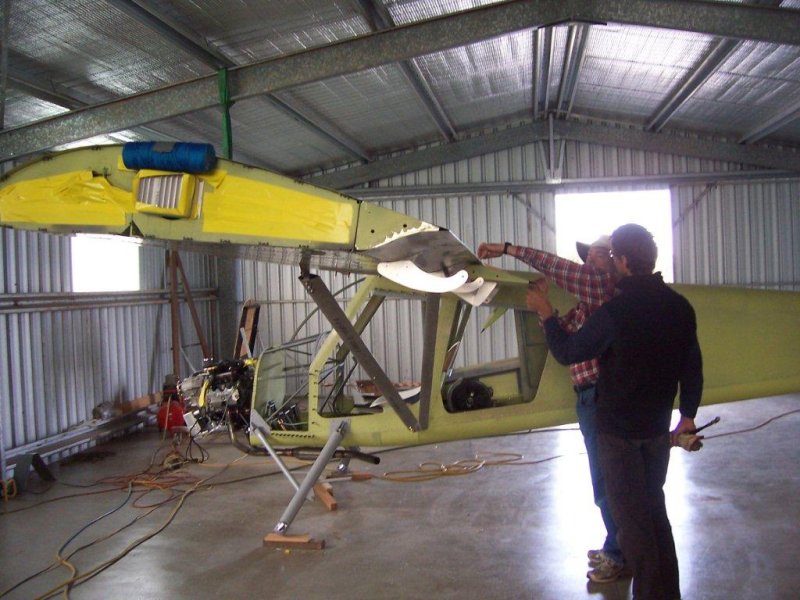
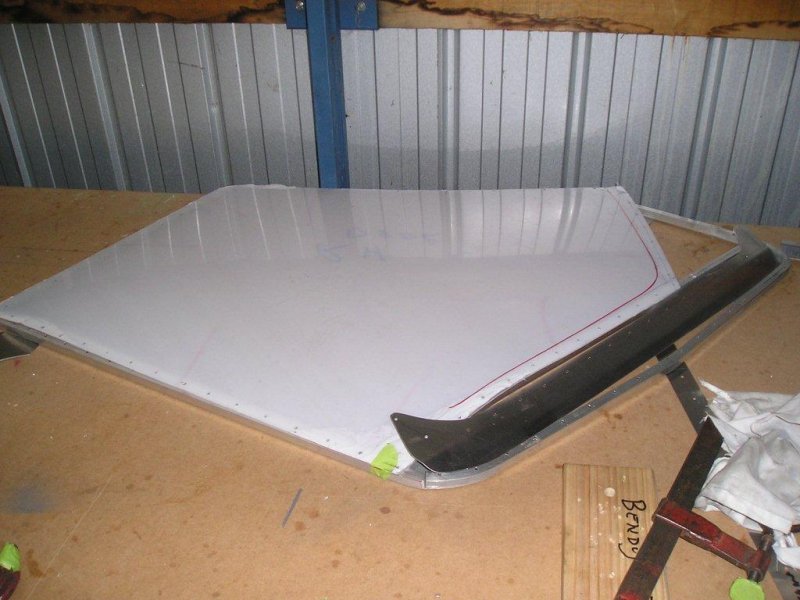
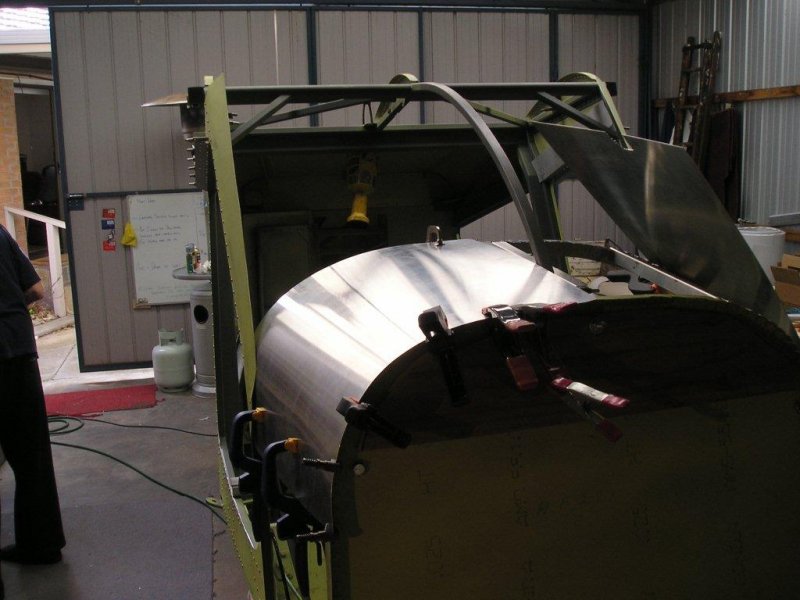
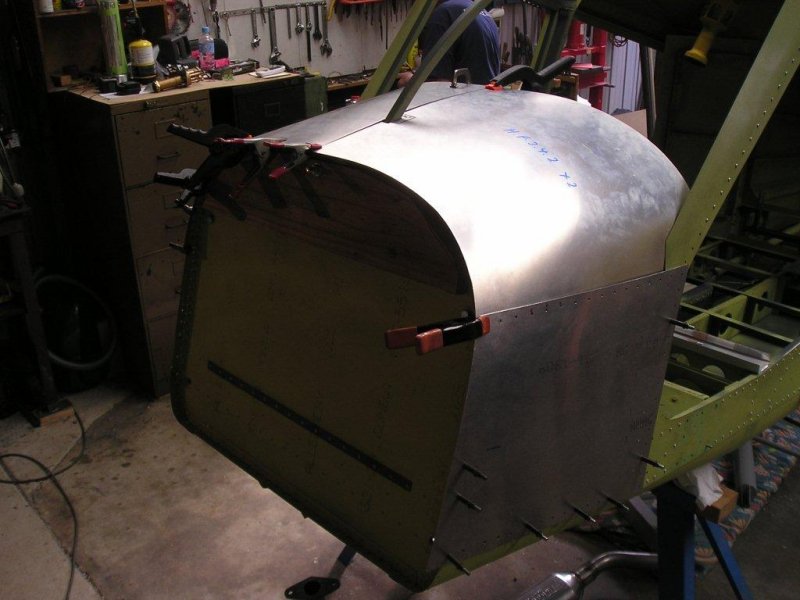
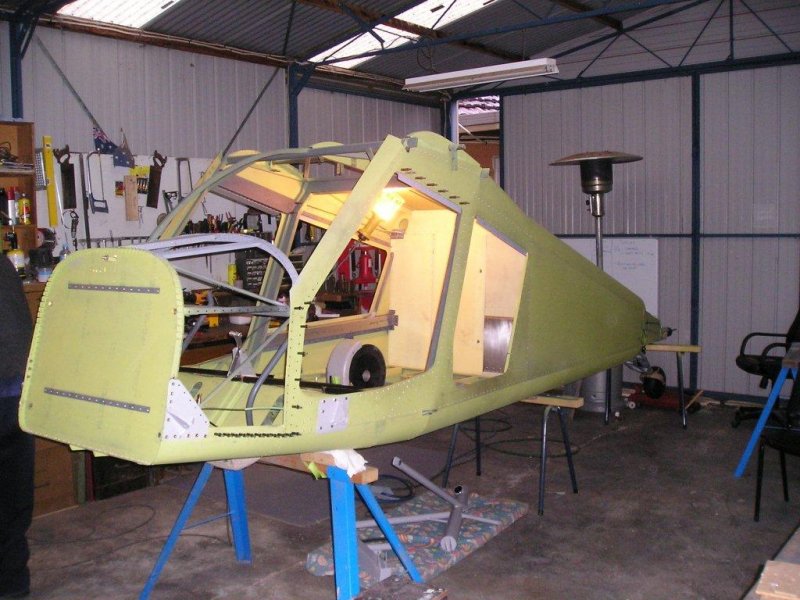
Today some of the last pieces of sheet metal were positioned around the upper forward cockpit.
I purchased the battery and also picked up a battery box from the supplier. This made the battery installation easy.
All the landing gear has been final painted and Chris did a great job here again. Most of the cockpit access doors have been completed or are nearly there anyway.
The exhaust issue is now sorted and it now fits great. The engine stand with the dummy firewall Peter fabricated was ideal for the task.
Ole is coming to see us soon and assist us with the wing installation as well as fuselage tailplane setup and the other flight controls.
The Gliding Museum at Bacchus Marsh has kindly allowed us to use some space which is greatly appreciated. Thanks guys.
So over the next week we will be moving the fuselage to the Marsh, gathering the tools we need and the other items we will need to carry the final assembly work.
I am looking forward to seeing it come together now...
All for now,
Regards Jack
- Man hours to date:
- 680hrs
- Man hours to date:
- 720hrs


16 August 2011
click on images for a bigger view.
Well we have just completed our most productive week!I am very impressed with what we achieved. Last week we prepared by moving the Hornet to a bigger facility loaned to us for assembly of the wings to fuselage.
This also included setting up everything we needed including tools, parts and remaining kit pieces.
Ole arrived Monday around lunch time after flying down in his good friend Nevilles Mooney from Taree.
Steve Jinks organised a great lunch for us all and then we started.
With three of the build team present (plus Jim who is really the boss!) we set to work under Oles instructions. He was impressed with what we had completed to date.
We started preparing the wings to fit to the fuselage and found the aileron drive shaft protruding from the wing was slightly too high.
This meant that it would enter the fuselage right on a reinforcing angle inside the fuselage.
So we spent the afternoon reworking the drive shafts on both wings so they would clear sufficiently in the fuselage.
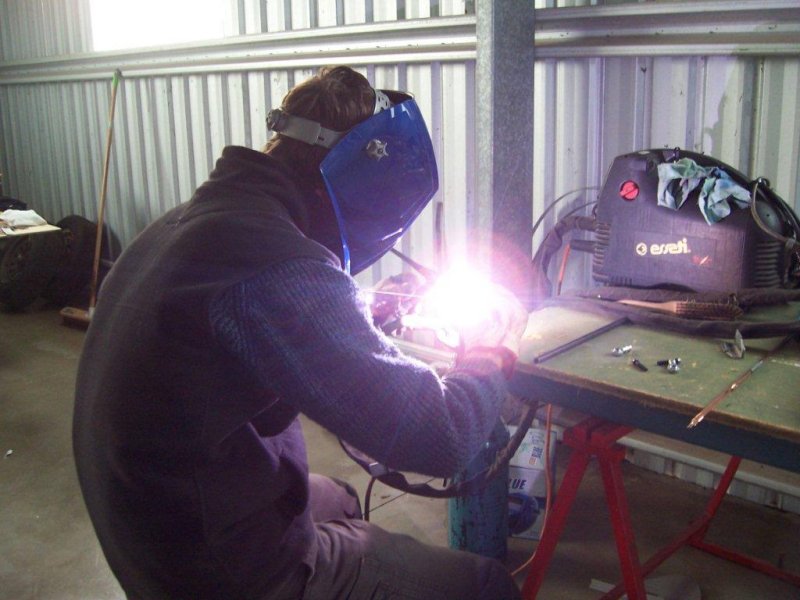
Gordon in the mean time was fabricating some tailplane attach brackets that we had lost in the move somewhere.
That was frustrating as we all had seen them only days earlier.
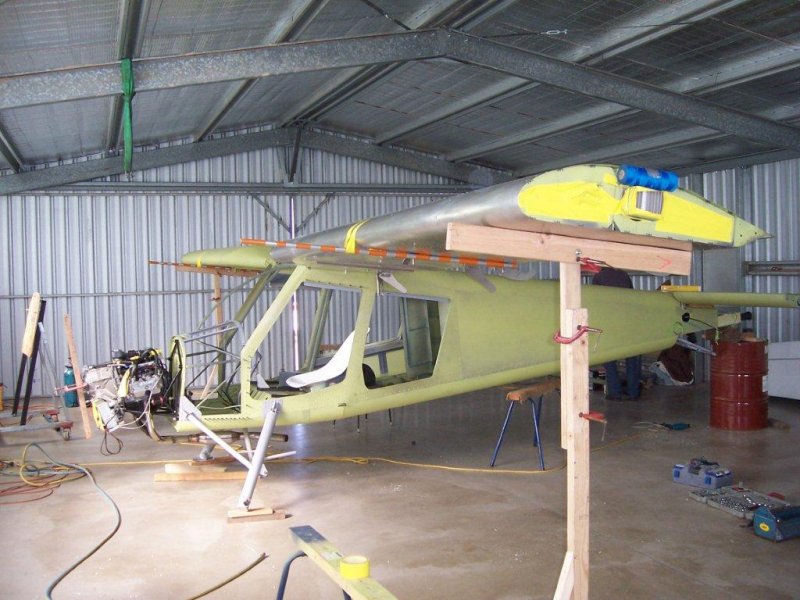
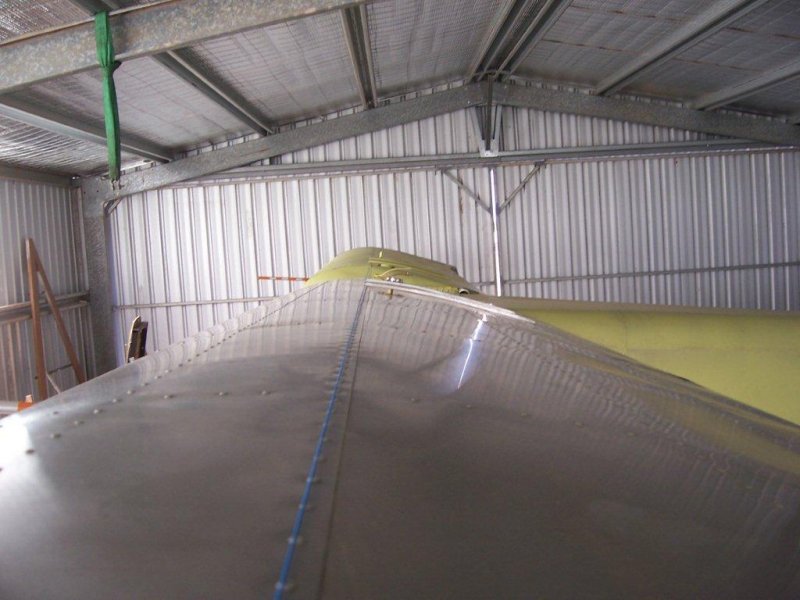
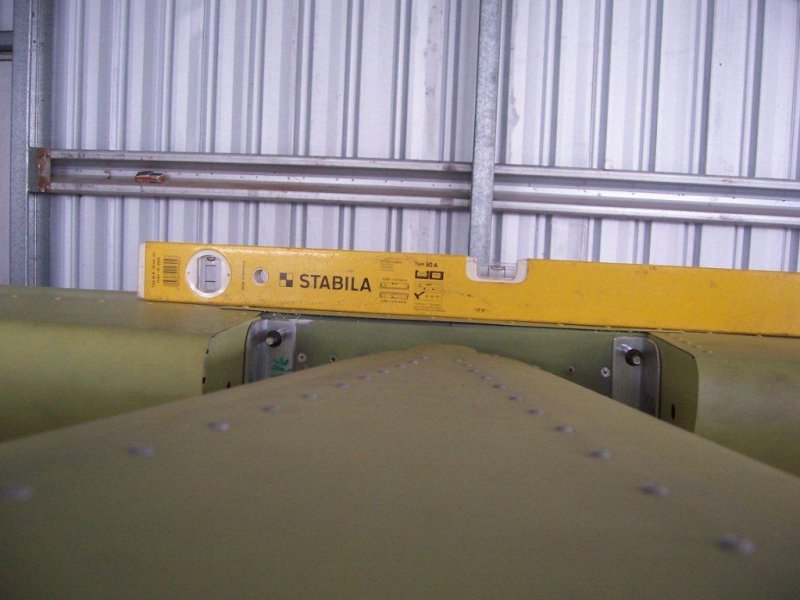
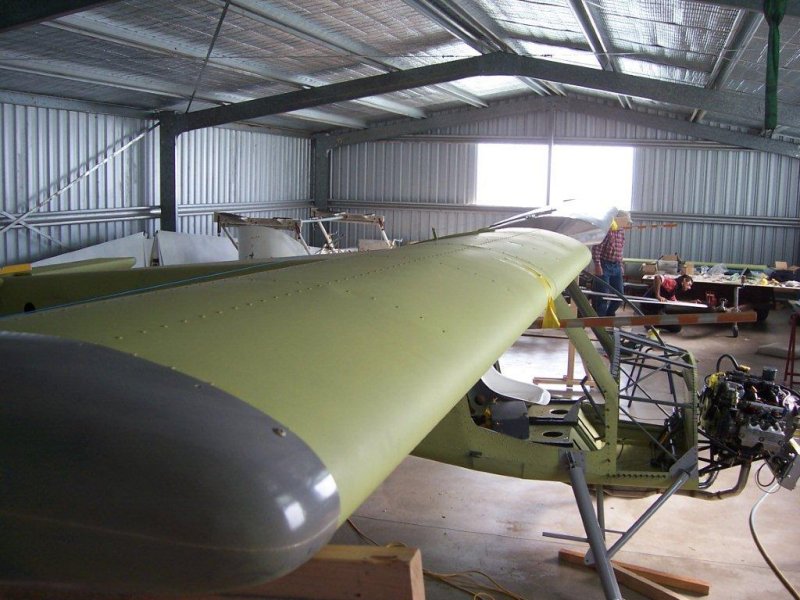
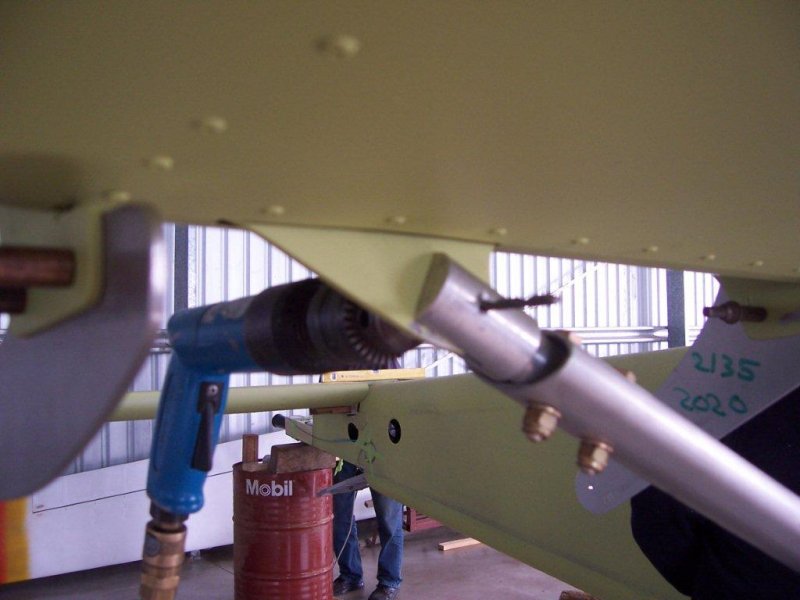
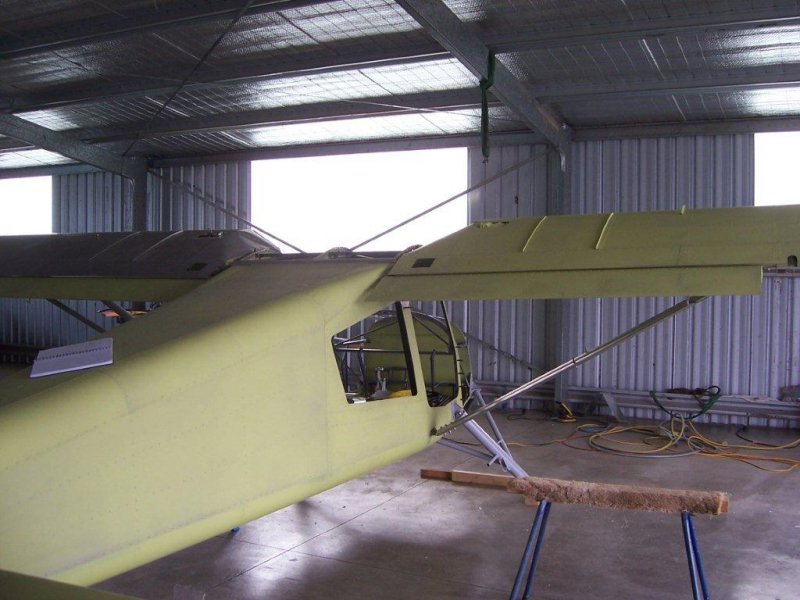
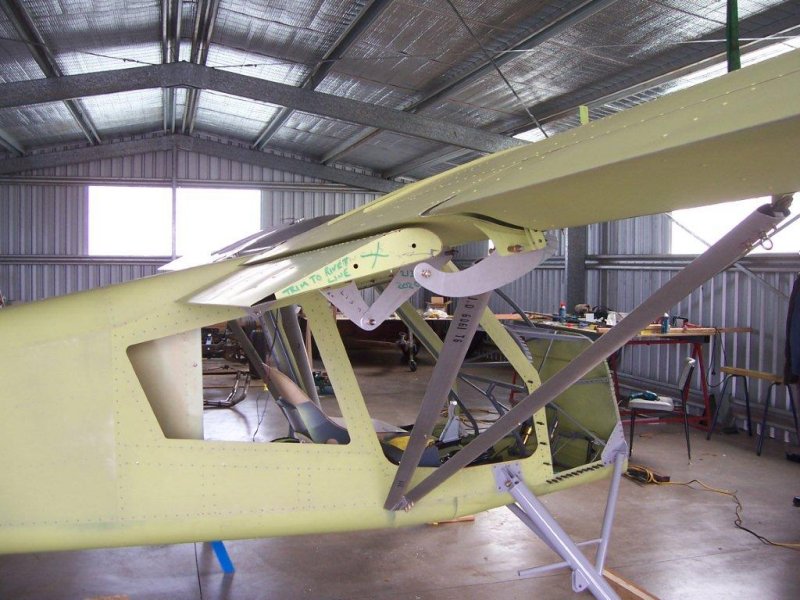
The next day was a great day. First we fitted the wings to the fuselage which started by drilling the front spar first then using a clamp to secure the rear spar to the fuselage.
After this was the first of many measurements to ensure we had the wing in the correct position.
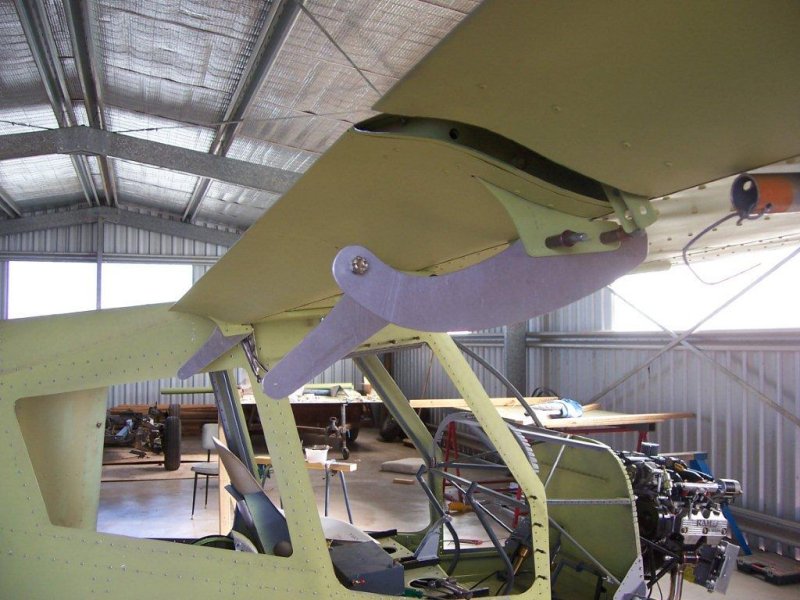
Ole also uses a very clever tool attached to the lower surface of the wing to assist with his rigging and setup procedure.
With both wings now fitted we started on the flaps and ailerons. This included drilling off the pivot arms for the flaps and ailerons.
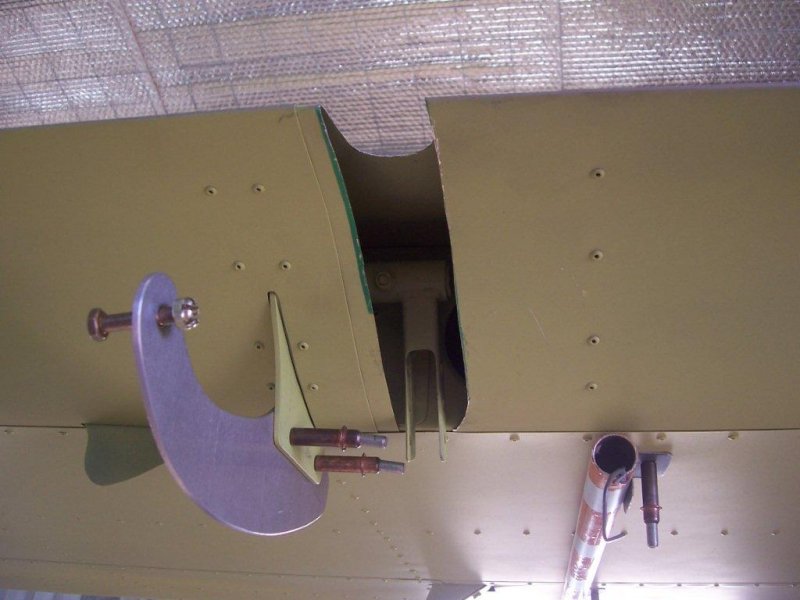
A very interesting feature of the new flight control design is the use of vent gaps between the wing trailing edge lower skin and the top surface of the ailerons and flaps.
As the aileron or flap moves thru its travel a gap of approx 15 mm is kept between the aileron and wing. This allows a more responsive and effective flight control.
The 737-300/400 that I work on uses vent gaps on the trailing edge flaps allowing the trailing edge flaps to be more effective.
As the aileron nears full travel the vent gap grows but the up going aileron leading edge protrudes down into the airflow to assist in the aircraft turning.
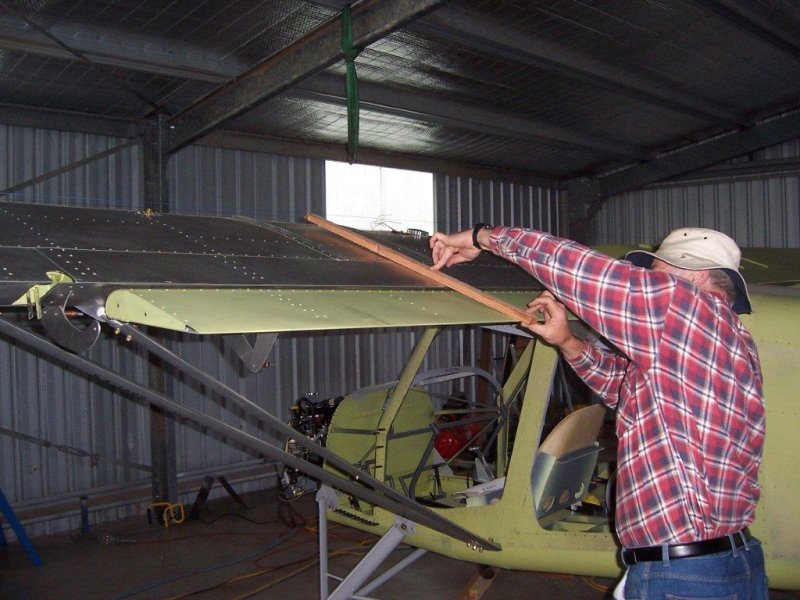
Again the setup and rigging of the ailerons and flaps is simple using a wooden baton on the top surface of the wing to the tip of the aileron or flap to set the neutral position.
Adjustable rod bearings will fine tune the adjustment if needed.
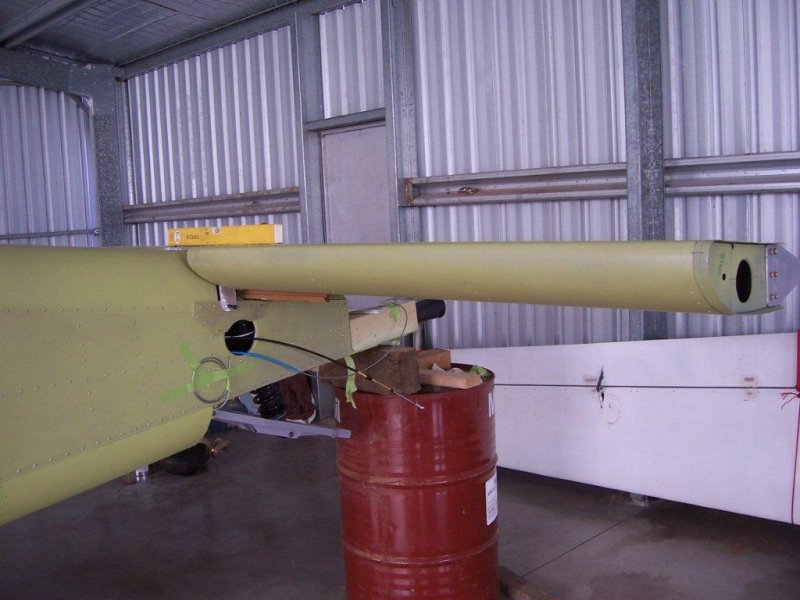
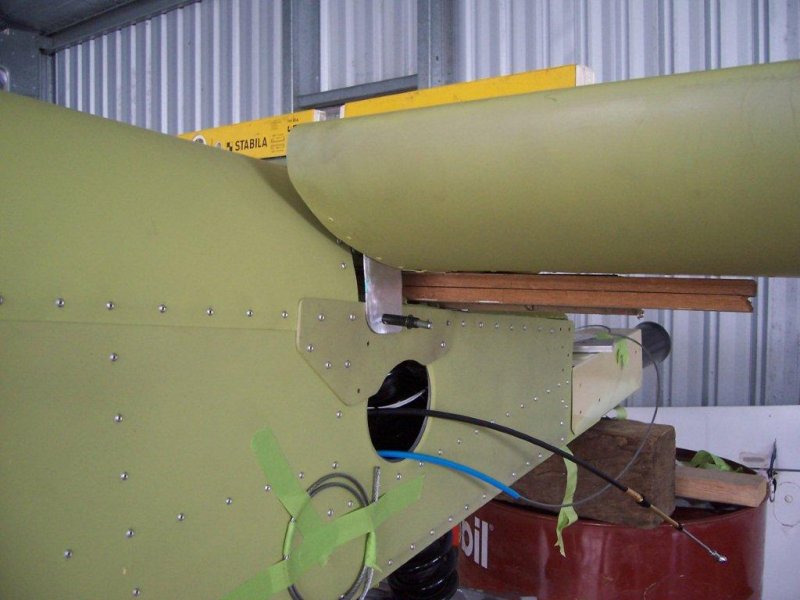
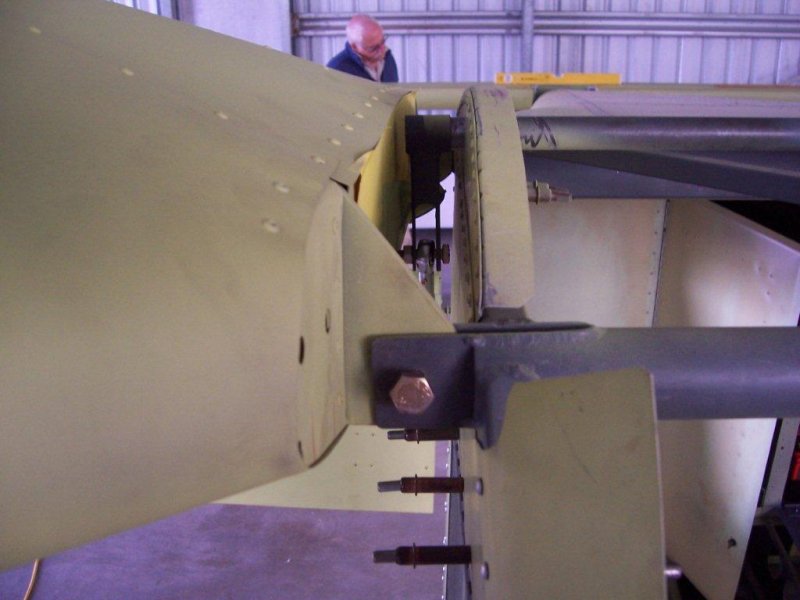
The horizontal tailplane initial setup was carried out. Again a few measurements were required to ensure we had the tailplane in the correct position.
Another feature of the horizontal tailplane design is that you could adjust the angle of incidence if it was found that you needed slightly more up elevator.
This is done by the horizontal tailplane being able to pivot on the aft attach bracket then resecure the leading edge attach bracket in the new position thereby changing slightly the angle of incidence for the tailplane.
Finally with the horizontal tailplane drilled off and in position we setup the vertical stabiliser. This again was an easy process and we soon had this drilled off and in position.
By Wednesday lunch time all the main components were positioned and drilled off.
All that is required now is to open up the pilot holes we drilled to final size.
As we were going so well on time we setup both flaps, installed the electric motor and then drilled of all the drive tube arms.
A couple of wires straight to the battery and we had the flaps working under electric power. That was a great feeling to see them working.
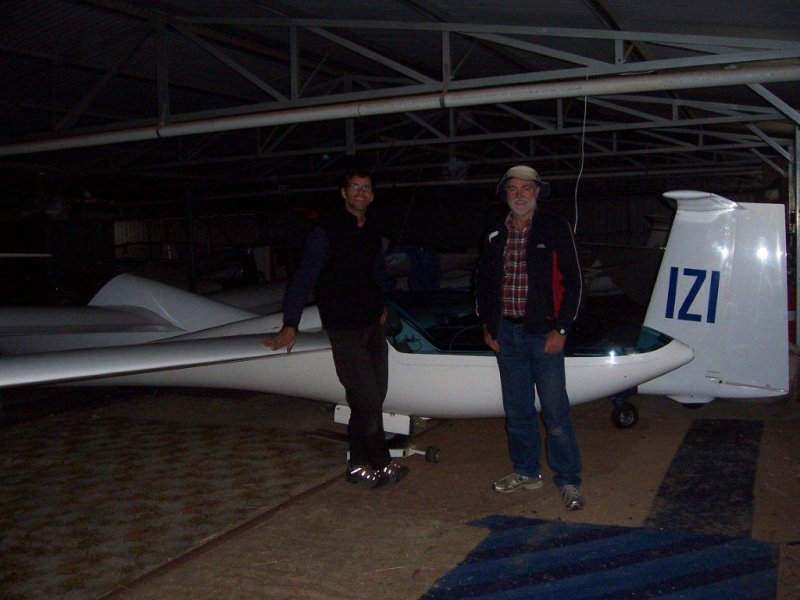
In the late afternoon I took Ole and Neville to our Clubs glider hanger. I was able to show them around some clubs gliders and also my DG400 which I share in ownership with Gordon.
That evening we had a group of 12 out for dinner to celebrate what we achieved. Thursday morning Ole and Neville flew home to Taree.
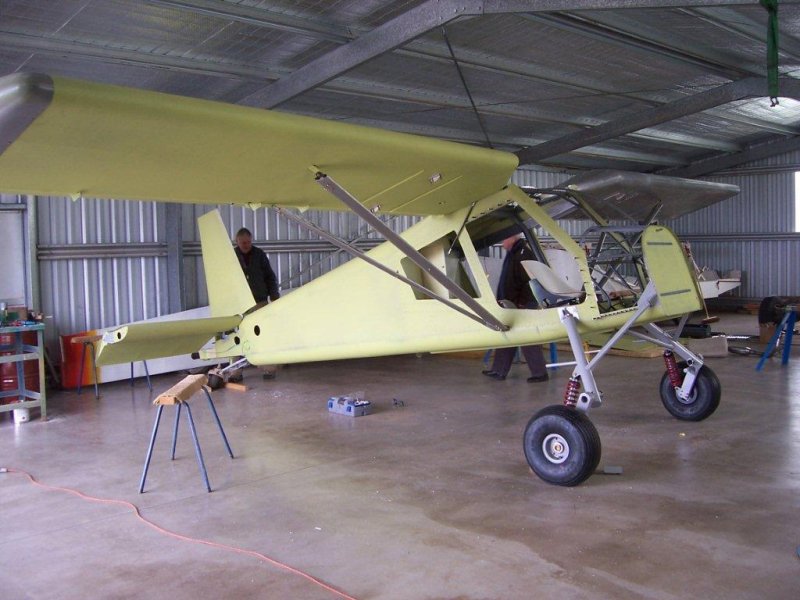
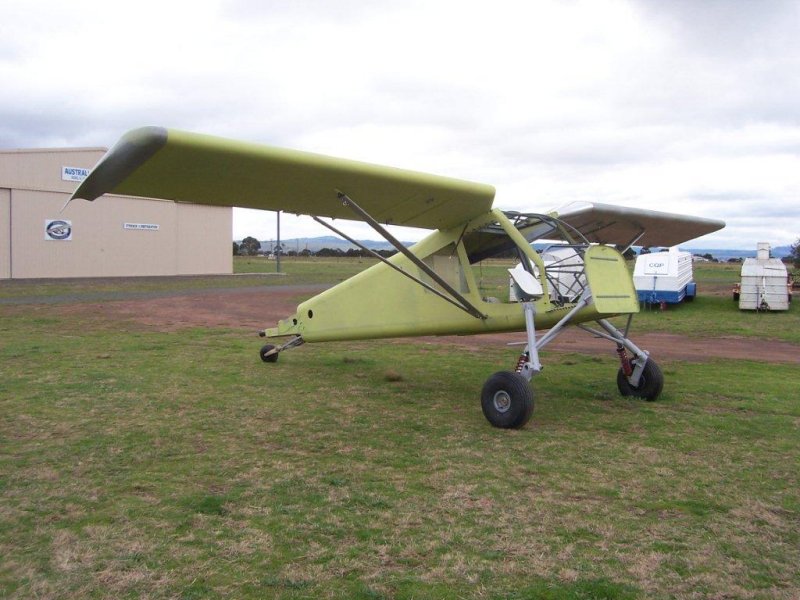
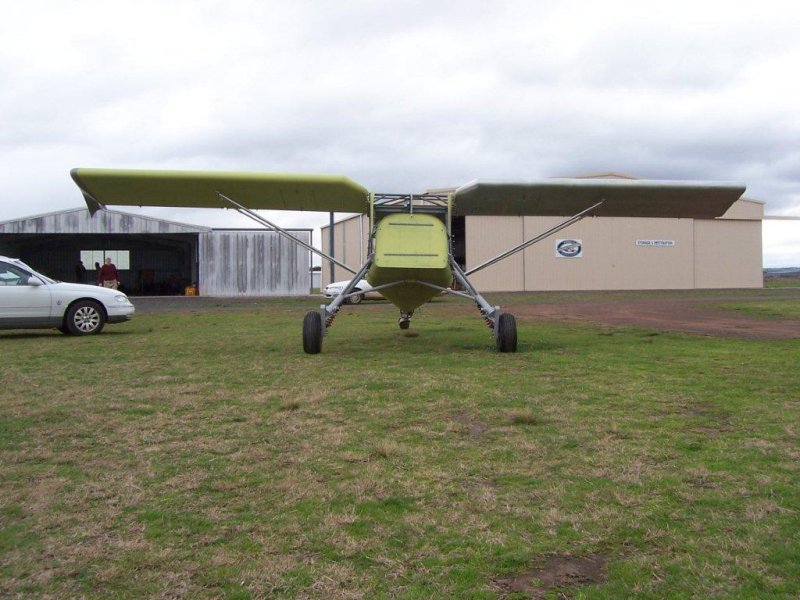
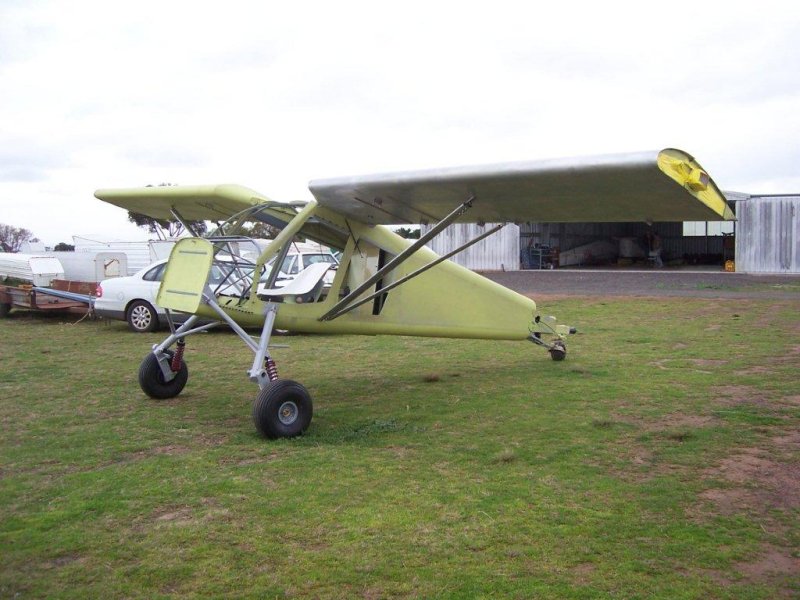
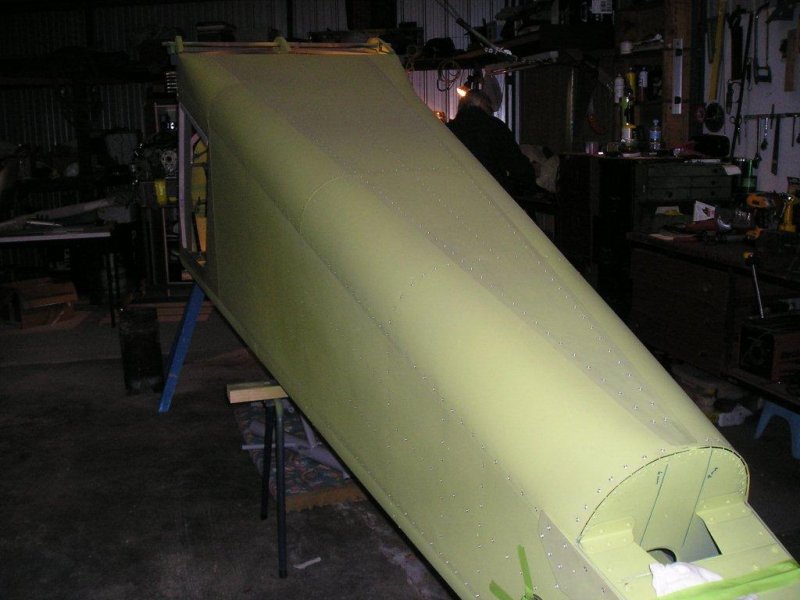
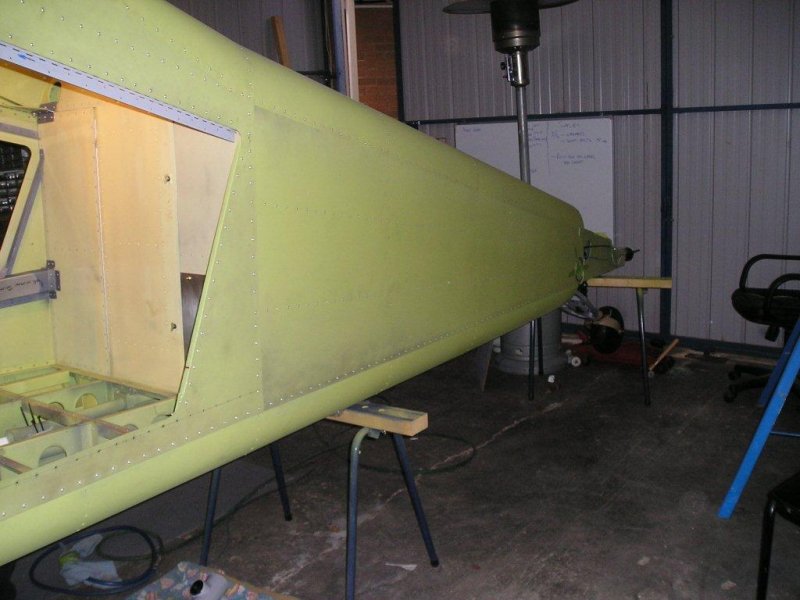
The pictures below show what we achieved in a very short time but all credit must go Ole and Neville coming down to help us rig the wings and flight controls.
Basically everything in the pictures below was done in about two and half days work by 4 men (plus Jim who is really the boss!).
When we signed on the dotted line Ole insisted on coming to Melbourne to help us thru this phase of the build.
He will also be present for the first flight. We really have had great service support, I wonder how many other kit manufacturers would do the same?
Thanks Ole we all appreciated your time.
All for now because I'm stuffed, not just me but I think we all need a rest! I'm off to Budapest for work so I am off the build for a while, back in 10 days or so.
Regards Jack